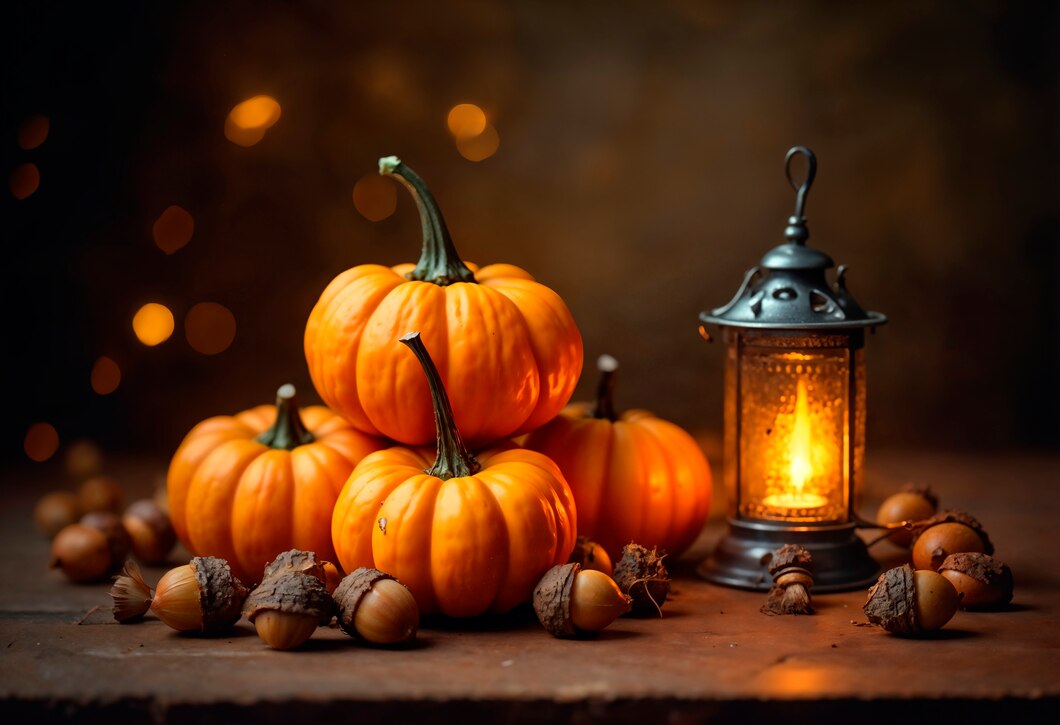
Carved Pumpkin Lantern for Halloween: A Step-by-Step Guide

Introduction
Carved pumpkin lanterns are a staple of Halloween. They add a spooky yet fun vibe to porches, windows, and even inside homes during this eerie time of year. Whether you’re a seasoned pumpkin carver or a beginner looking to try your hand at this tradition, this guide will help you create the perfect carved pumpkin lantern. From choosing the right pumpkin to adding the finishing touches, you’ll find everything you need to know to make your lantern glow bright and spooky this Halloween.
What Is a Carved Pumpkin Lantern?
A carved pumpkin lantern, also known as a “jack-o’-lantern,” is a hollowed-out pumpkin with a face or design cut into its side. A candle or LED light is placed inside, illuminating the design and giving off that classic Halloween glow. The tradition dates back centuries, with roots in Irish folklore. Today, it’s a fun and creative way to decorate your home for the Halloween season.
How to Choose the Right Pumpkin for Your Lantern
Picking the perfect pumpkin is the first step to creating a stunning carved pumpkin lantern. Here’s what to look for:
- Size: A larger pumpkin gives you more room for intricate designs, while smaller pumpkins are easier to handle and carve.
- Shape: Look for a pumpkin with a flat base so it can sit steadily. The shape can add character to your design—round for a traditional look or tall for something unique.
- Firmness: Choose a pumpkin that feels firm to the touch without any soft spots. This ensures it will last longer once carved.
Tools You’ll Need for Pumpkin Carving
Having the right tools can make all the difference when carving your pumpkin lantern. Here’s a list of essentials:
- Carving Kit: Many stores offer kits with small saws and scoops specifically for pumpkin carving.
- Spoon or Scoop: A sturdy spoon is great for scraping out the insides.
- Marker or Pencil: Use this to draw your design before carving.
- LED Light or Candle: To light up your finished lantern safely.
Step-by-Step Guide to Carving a Pumpkin Lantern
Step 1: Prep Your Pumpkin
Before you start carving, you need to clean and prep your pumpkin:
- Cut the Lid: Using a small saw or knife, cut a circle around the stem of the pumpkin to create a lid. Angle the cut inward so the lid doesn’t fall through.
- Scoop Out the Insides: Remove all seeds and stringy bits from the inside. The cleaner your pumpkin, the better the light will shine through.
Step 2: Design Your Pumpkin Face
Now comes the fun part—designing your lantern! Here’s how:
- Draw the Design: Use a marker to sketch your design on the pumpkin. Classic choices include spooky faces, cats, or ghosts.
- Try a Template: If freehand drawing isn’t your thing, use a printable template and tape it to the pumpkin. You can poke small holes along the outline to transfer the design onto the surface.
Step 3: Carve the Design
With your design ready, it’s time to carve:
- Start with Small Cuts: Begin by making small cuts along the outline, then connect them for a smoother result.
- Remove the Cut-Outs: Gently push the cut pieces out from the inside. Be patient, especially with intricate details.
- Smooth the Edges: Use a small knife to clean up the edges of your design.
Step 4: Light Up Your Lantern
To give your carved pumpkin lantern that perfect glow, place an LED light or small candle inside:
- LED Lights: These are safer than candles and can be left on for hours.
- Candles: If using a candle, make sure your pumpkin is in a well-ventilated area, and never leave it unattended.
Tips for Making Your Pumpkin Lantern Last Longer
Carved pumpkins can quickly turn mushy, especially if exposed to moisture. Here are some tips to extend the life of your carved pumpkin lantern:
- Use Petroleum Jelly: Rub a thin layer along the cut edges to prevent the pumpkin from drying out.
- Keep It Cool: Store your pumpkin in a cool spot or in the fridge overnight if temperatures are warm.
- Spray with Water: A light mist of water daily can help keep your pumpkin looking fresh.
Fun Carving Ideas for Inspiration
Here are some creative carving ideas for your pumpkin lantern:
- Traditional Faces: Go classic with a smiling or scary jack-o’-lantern face.
- Patterns and Shapes: Stars, moons, and geometric shapes can add a modern twist.
- Pop Culture Icons: Carve your favorite movie character or Halloween symbol.
- Animal Faces: Owls, cats, or bats can be cute or spooky additions to your porch.
Conclusion
Creating a carved pumpkin lantern is a fun and festive way to embrace the Halloween spirit. With a little planning and some creativity, you can craft a lantern that delights trick-or-treaters and neighbors alike. Remember, the most important part is to have fun with it—so gather your friends or family, grab some pumpkins, and get carving!
FAQs About Carved Pumpkin Lanterns
Q1: How long do carved pumpkin lanterns last?
A carved pumpkin lantern usually lasts around 3-7 days, depending on temperature and humidity. Keeping it cool and applying a bit of petroleum jelly can help extend its life.
Q2: Can I use a kitchen knife to carve my pumpkin?
Yes, but it’s safer to use tools designed for pumpkin carving. A small saw and scoop can make the process easier and more precise.
Q3: What kind of light should I use inside my pumpkin?
Battery-operated LED lights are the safest choice. They won’t generate heat, making them ideal for leaving your lantern lit longer.
Q4: How can I prevent my pumpkin from rotting?
After carving, keep your pumpkin cool and out of direct sunlight. Spraying it with a water and bleach solution (1 teaspoon bleach per quart of water) can help kill mold and bacteria.
Q5: Can I eat the seeds from my pumpkin?
Absolutely! Clean them, toss with a little oil and seasoning, and roast them in the oven for a tasty snack.


