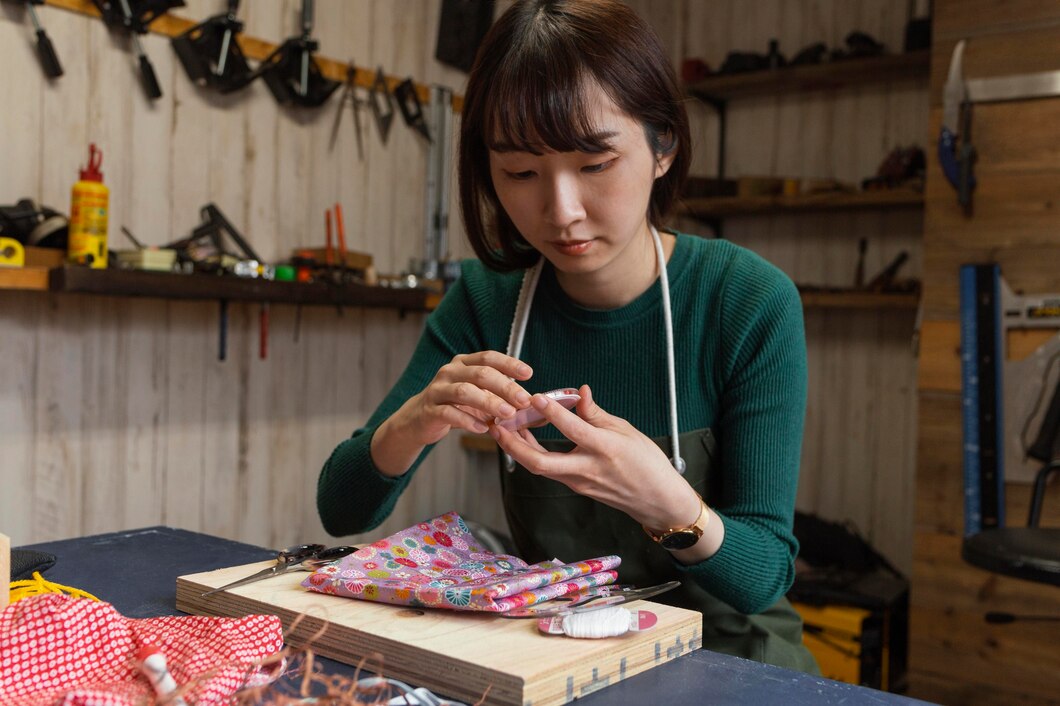
手办制作): A Step-by-Step Guide for Beginners

Creating custom figures, known in Chinese as 手办制作 (Shǒubàn Zhìzuò), is a fascinating hobby that allows fans to bring their favorite characters to life in a physical form. Whether you’re a fan of anime, video games, or any other type of pop culture, learning how to make your own figures can be a rewarding and creative experience. In this article, we will guide you through the basics of 手办制作, offering simple instructions, tips, and insights to help you get started.
What is 手办制作 (Custom Figure Making)?
手办制作, or custom figure making, involves sculpting, painting, and assembling models to create detailed representations of characters, creatures, or even original designs. Unlike mass-produced figures, handmade figures are unique, allowing for personal touches and creativity. This craft is popular among hobbyists, especially those who want to express their passion for a specific character or art style.
Why Get Into 手办制作?
1. Express Your Creativity
- Making your own figures gives you full control over the design, pose, and colors, allowing for a truly personal touch.
- This hobby blends art and craftsmanship, making it perfect for anyone who loves hands-on creative projects.
2. A Personalized Collection
- Custom figures can represent characters or designs that may not be available in stores.
- You can create figures that match your own style or make special editions that feel truly unique.
3. A Fun and Relaxing Hobby
- Many people find the process of sculpting and painting figures therapeutic.
- It’s a hobby that allows you to unwind and focus, while also seeing the tangible results of your efforts.
What You Need to Start 手办制作
Before diving into your first project, you’ll need some basic tools and materials. Here’s a quick list:
1. Sculpting Materials
- Clay: Polymer clay, such as Super Sculpey, is a popular choice for beginners due to its ease of use.
- Epoxy Putty: This is often used for fine details and hardens into a strong material.
2. Tools for Shaping and Sculpting
- Sculpting Tools: These include shaping tools, needles, and spatulas to refine details.
- Sandpaper: Helps to smooth out surfaces before painting.
3. Painting Supplies
- Acrylic Paints: These are water-based and suitable for a wide range of colors.
- Airbrush: Optional, but it can help achieve a smoother and more professional look.
- Brushes: Use different sizes for various parts of your figure.
4. Other Essential Items
- Wire for Armatures: Helps to build a sturdy base for your figures.
- Primer and Sealant: Essential for preparing the surface before painting and protecting the final result.
- Reference Images: To ensure accuracy in your sculpture, use reference images of the character or design you are working on.
Step-by-Step Guide to 手办制作
Step 1: Design and Planning
- Start with a clear idea of what you want to create. Draw sketches from different angles to understand the figure’s proportions.
- Decide on the pose and expression to give your figure a unique personality.
Step 2: Create the Armature
- Build a wire skeleton, known as an armature, to serve as the base of your figure. This will give the sculpture stability and structure.
- Wrap aluminum foil around the wire to create the rough shape of the body.
Step 3: Sculpt the Figure
- Apply clay over the armature, starting with a basic layer to cover the entire structure.
- Gradually add more clay to sculpt muscles, clothing, and other details. Use sculpting tools to refine the shapes.
- Take your time, working in layers and allowing the clay to cool (if using polymer clay) between sessions.
Step 4: Bake and Sand the Model
- If you’re using polymer clay, bake your figure according to the clay’s instructions.
- After baking, use sandpaper to smooth out any rough edges or imperfections.
Step 5: Paint and Detail
- Start with a primer coat to ensure the paint sticks evenly.
- Use acrylic paints or an airbrush to apply base colors. Once the base is dry, add shadows, highlights, and intricate details to bring your character to life.
- Take care to paint eyes and facial details with precision, as they can greatly affect the character’s expression.
Step 6: Seal and Display
- After the paint has dried completely, use a sealant spray to protect the colors from fading or chipping.
- Your figure is now ready to be displayed! Find a suitable spot on your shelf and enjoy your handmade creation.
Tips for Successful 手办制作
- Start Simple: If you’re new to figure making, start with a simple design before attempting more complex poses or details.
- Watch Tutorials: Online videos can be incredibly helpful for learning specific techniques.
- Be Patient: This is a hobby that requires time and precision, so don’t rush the process.
Conclusion: Embrace the Art of 手办制作
Creating custom figures through 手办制作 is an exciting way to combine art and storytelling. It’s a craft that allows you to express your passion for your favorite characters while developing new skills. With some practice, you can create figures that are as detailed and impressive as those on store shelves. Whether you’re looking to start a new hobby or add unique pieces to your collection, hand-making figures can be a deeply satisfying experience.
Frequently Asked Questions (FAQs)
1. Is 手办制作 expensive?
- It can be, depending on the quality of materials and tools you choose. However, beginners can start with basic supplies and upgrade over time.
2. How long does it take to make a figure?
- A simple figure might take a few days, while a more complex one can take weeks. It depends on the level of detail and your experience.
3. Do I need to have drawing skills to make figures?
- Drawing skills can help with planning, but they aren’t essential. As long as you have a good reference image, you can sculpt without drawing.
4. Can I use air-dry clay for 手办制作?
- Yes, air-dry clay can work, but it is less durable than polymer clay. It is a good option for practicing basic shapes and designs.
5. How do I avoid cracks when baking polymer clay?
- Make sure to bake at the correct temperature and avoid drastic temperature changes. Pre-warm your oven to ensure even baking.


